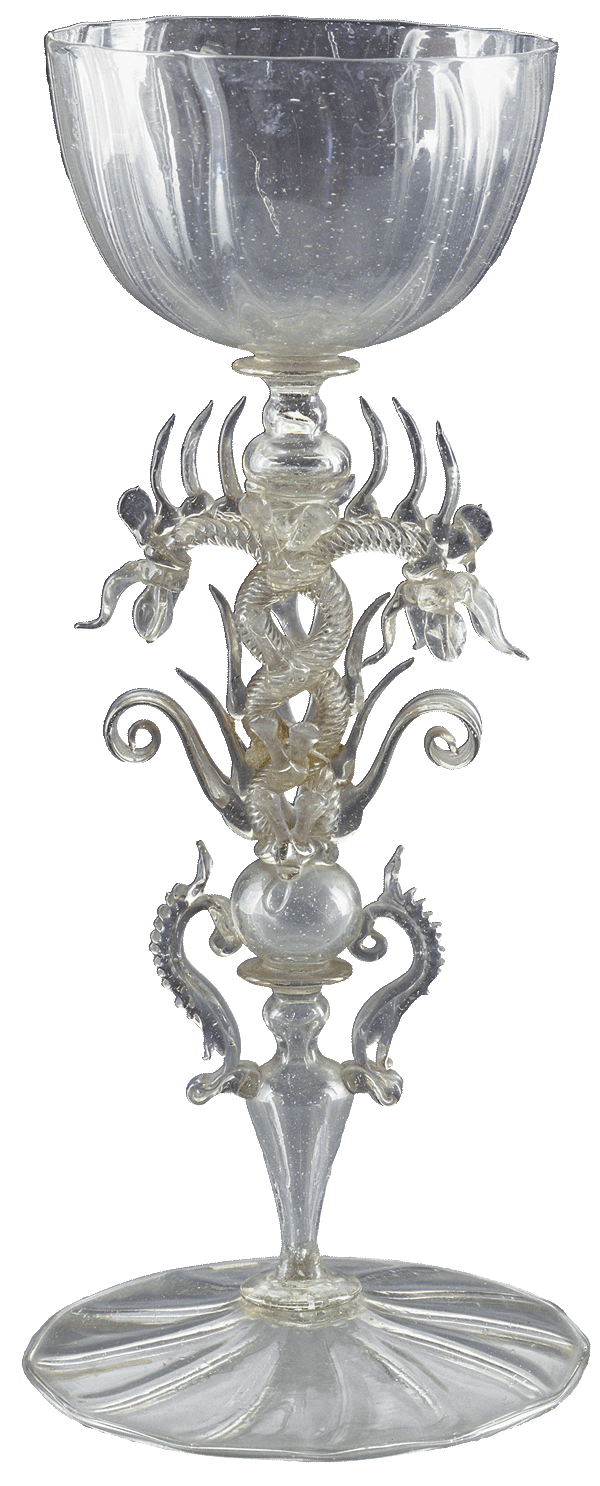
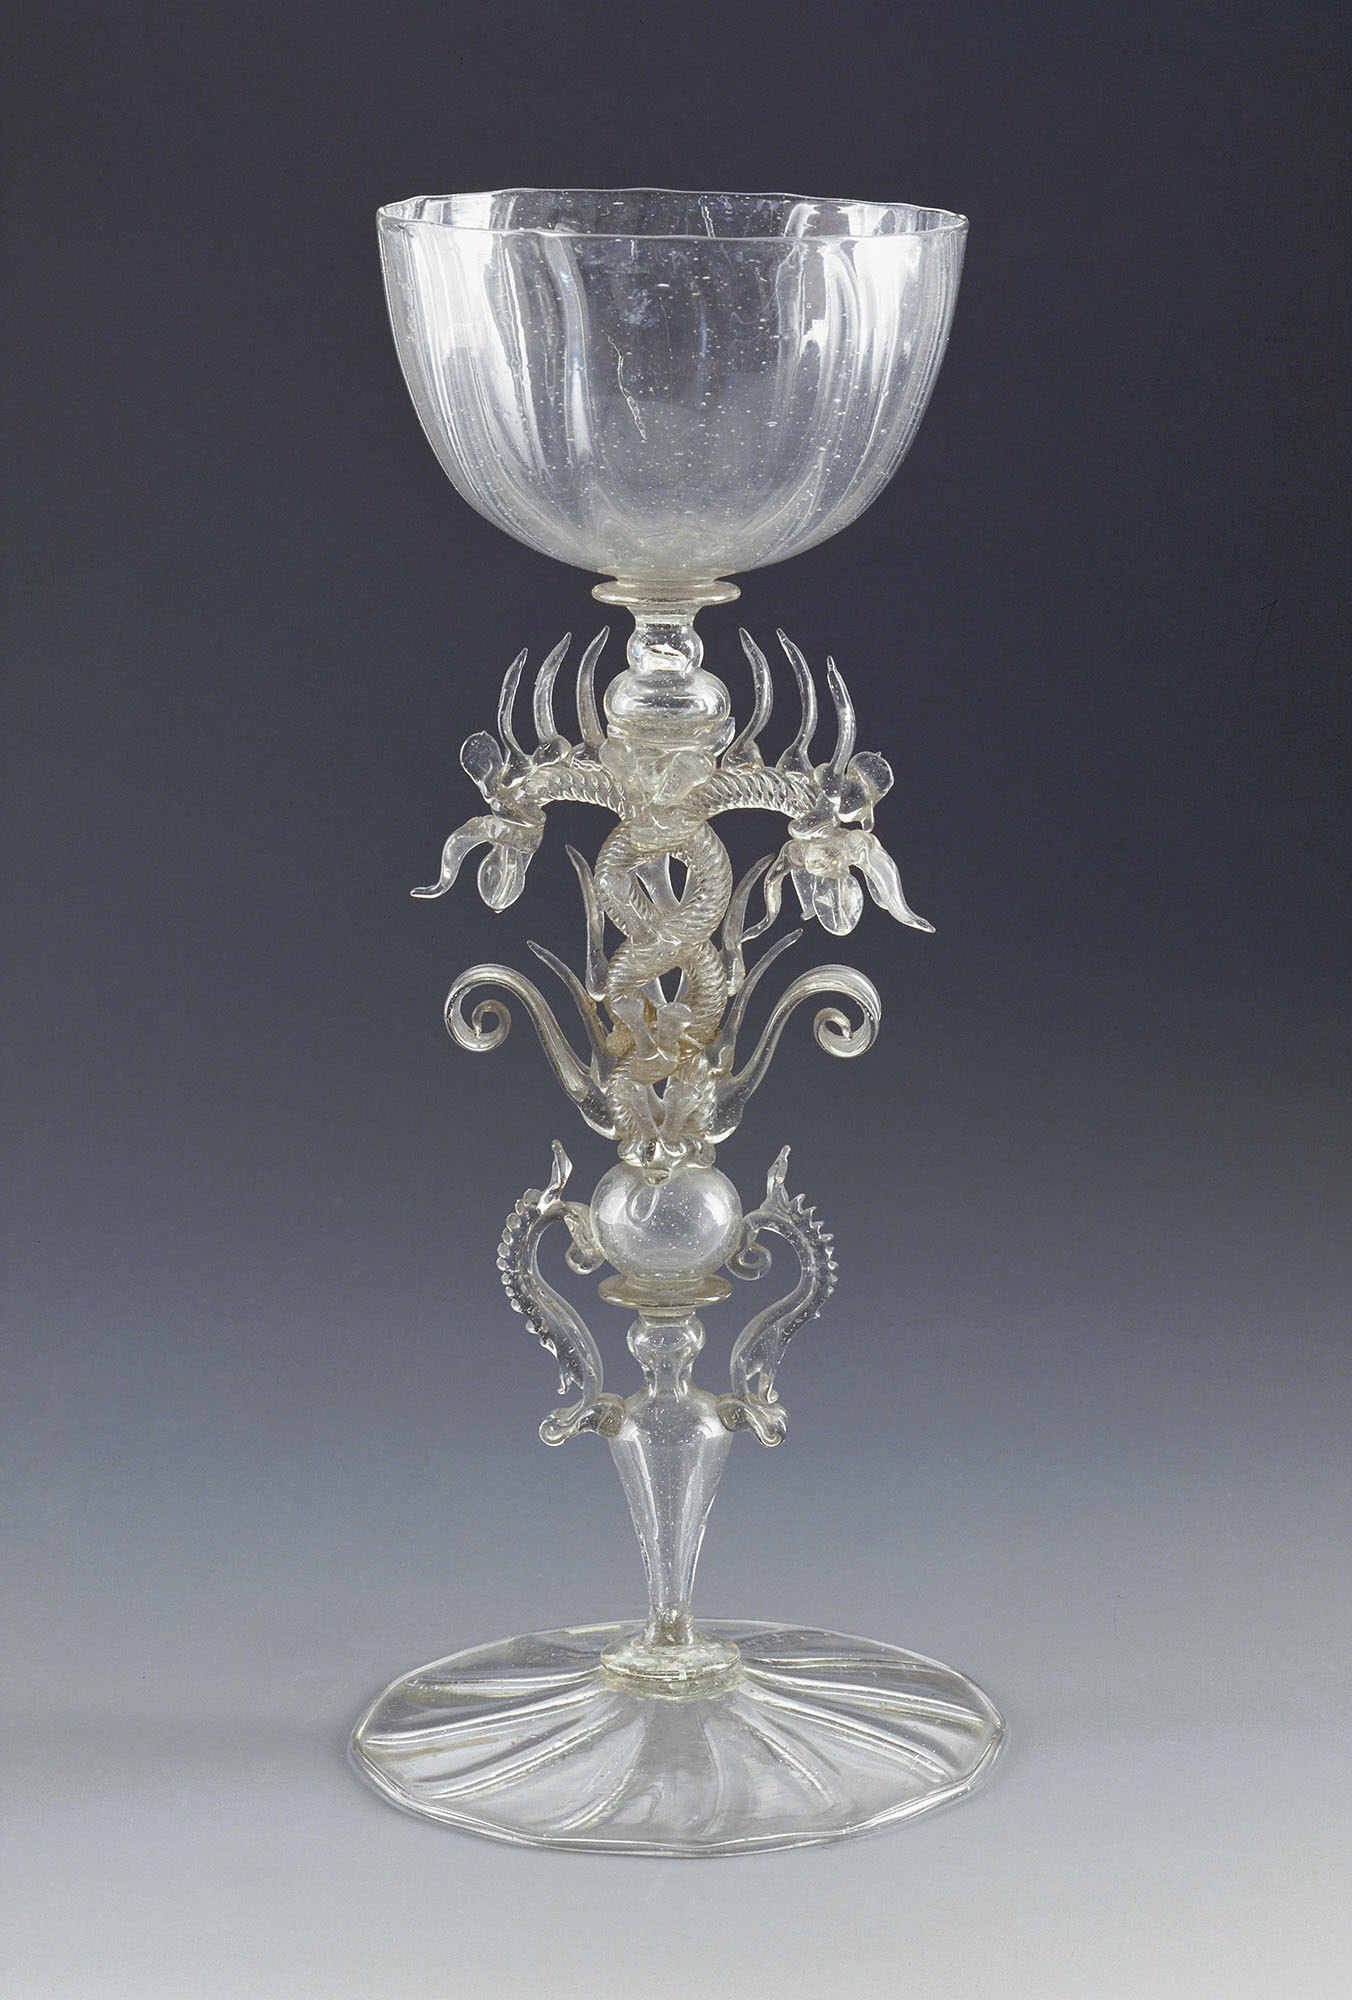
Serpent chalice
Serpent Chalice
The video shows the parts of this object being made and placed temporarily in a hot oven. After attaching the base to a pontil, the parts are, one at a time, joined using small amounts of molten glass (‘glue bits’).
Transcript
This exceedingly complicated goblet begins with a tiny gather of glass. The gather is marvered, and a small bubble blown into the mass. A constriction is made near the blowpipe, and another, further from the end of the blowpipe. Excess glass is broken off. Another small bit of glass is added, and this will become a merese. The glass is flattened, made slightly conical, a shallow groove is made, and a blade placed on either side of the gather. This results in the rather sharp edge and the end is left slightly conical. Another bubble is brought over from above, lowered carefully onto the conical face of the merese, and it's cut free of its gathering blowpipe.
Decorative constrictions are made. Another constriction is made in the narrowest part of the stem. Excess glass broken free and another merese is made. The glass is flattened, pushed up the side of the stem somewhat, pulled outward, and this creates a very strong attachment to the stem. The foot consists of a bubble of glass lowered into a dip mold, inflated, and added to the face of the merese. A constriction is made. This will allow a hole to be created in the end of the bubble. After reheating, the hole is opened slightly and a tiny gather of glass added to the edge. This will minimize the tendency of the edge of the foot to become fluted during the opening process.
The lowermost part of the stem has to be cooled. During the reheats, it unavoidably softens. The soffietta is used to inflate the glass. The jacks are used to dilate the hole. The punty site is cooled, the punty is added, and this lowermost part of the stem broken free of the blowpipe.
Next, decorative wings are added. A small amount of glass is flattened, touched to the upper shoulder of the stem, cut free of its gathering iron, and with very small pincers, manipulated. Another small mass of glass is added, cast free of its gathering iron, and pincered. This construction is placed in an annealing oven, broken free of its punty. The annealing oven is held at a temperature of about 950 degrees Fahrenheit.
The cup begins with a substantial gather of glass. It's marvered, and the blowpipe is held upward slightly as air is blown into the pipe. This results in a bubble that is slightly thin at its tip. The soft glass is held downward to elongate it and it's given a slight taper. After a substantial reheat, it's lowered into the optic (or dip mold) and blown hard. The cup is blown, the end is pushed inward. This results in a not spherical shape, but rather the shape of an oblate spheroid. A constriction is made near the blowpipe. Excess glass knocked free, and a merese is formed. A plain bubble of glass is added from above, cut free of its blowpipe. Decorative constrictions are made, and the outermost constriction will allow the breaking free of the excess glass. A tiny amount of glass is added and then flattened. This is not necessarily to be called a merese; it's simply a cap which closes the end of the knop. A punty is added, the neck broken, and after reheating, the cup is given its final shape. The jacks are used to dilate the hole and the soffietta is used to reshape the bubble. The wood jacks are used at the end of the process and this naturally creates a curving wall shape. The wood is soaked in water and tends not to leave tool marks on the glass. This too is placed on hold in the annealing oven.
The flowers begin with a tiny amount of glass gathered on the end of a metal rod. A small amount of glass is added to the end and the waffle pincers are used to create a pattern in the glass. Tiny bits are added to the perimeter. The leaf is elongated, bent, shaped. And the finished flowers are placed in the annealing oven.
The upper portion of the stem has an optic molded pattern, but here it's twisted. Air is blown into the blowpipe so that the bubble goes to the tip of the gather. It's given a slight taper, and after a reheat, lowered into the optic mold. The end is held, it's pulled outward as the pipe is twisted, and this creates the twisted pattern. A metal jig is used to create the pattern of the uppermost part of the stem. The shape is refined and the stem is straightened. A tiny amount of glass is added to the tip and flattened. A punty is added. And after a reheat, the two parts are given their shape. They're trimmed to the proper length. And the business of adding bits and pincering and shaping begins.
All of the bits are added, and then not cut free of the gathering iron with shears, but rather cast off. Throughout the process, the stem is constantly reheated to make sure that all parts are well over 1,000 degrees Fahrenheit. The final decorative elements are added. A tiny bit of glass is added to the tip of the stem, a flower picked up and stuck on. The second flower is added.
The assembly begins with a hot punty attached to the bottom of the foot. It's straightened. A tiny bit of glass is added to the top of the stem, and the uppermost portion of the stem connected. A final adjustment is made for straightness, alignment, and, after a flash in the furnace, the last glue bit added. And this will be used to pick up the cup. At this point, the greatest technical challenge is keeping the foot hot as the last glue bit hardens. The vessel is lowered into the annealer, the punty tapped lightly, and the vessel broken free.
See all: Browse by Map


