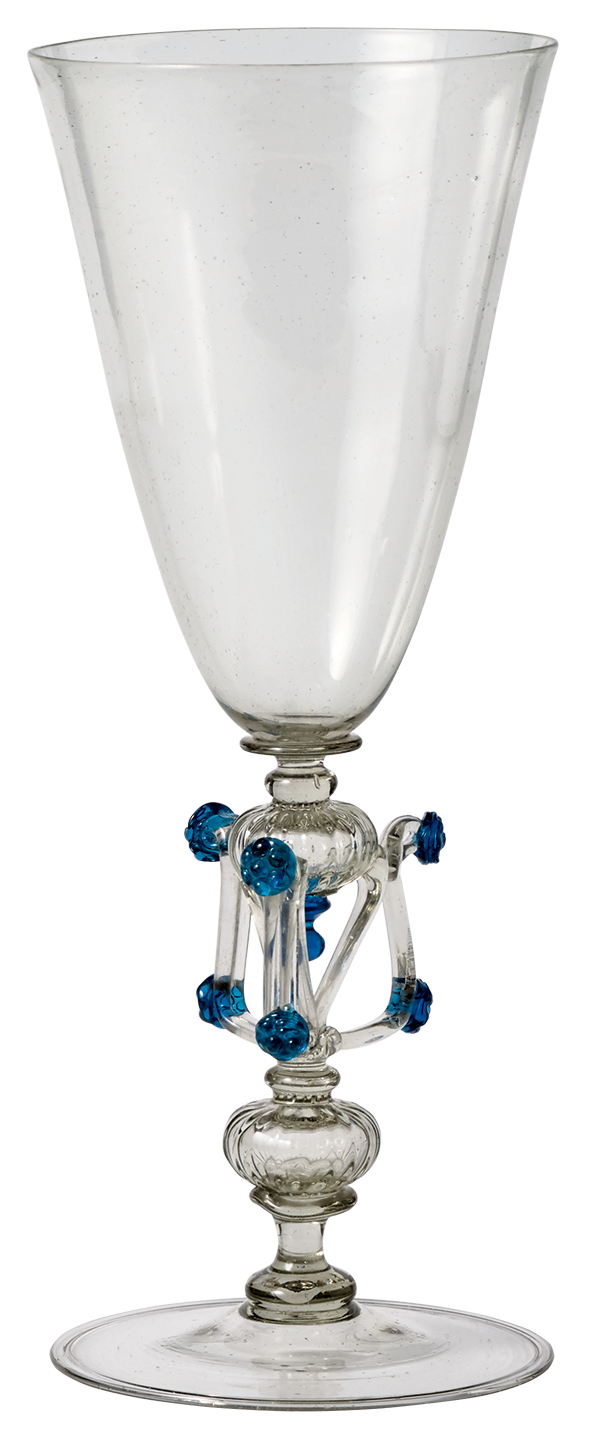
Openwork goblet
Open Work Goblet
In the video, first the bowl or cup is blown of colorless glass. Next, a series of solid and hollow elements are stacked, interrupted by three straps that create an open-work structure. Tiny raspberry prunts are added, and then a blown-foot is attached. Finally, the rim is created while the vessel is held at its base with a pontil.
Transcript
As complicated as this goblet looks and as many parts as there are, the entire object was built in one sitting, so to speak. A sequence of events (that begins with the cup and ends with the finishing of the rim) is carried out over a period (in real time) of only about eight or nine minutes. The initial gather of glass on the end of the blowpipe will be for the cup of the goblet. The glass is gently marvered on the brass table (rolled back and forth) and, after it's perfectly concentric with the blowpipe, a bubble is blown into the glass. The tip is left somewhat thick, and the tip is cooled by marvering it. A tiny point is pulled out with the pincers and, using the rubber blow hose (that's visible) a constriction is begun and blowing starts. The glass is inflated and then suddenly pulled outward. The constriction is refined in shape. It needs to be of narrow diameter and the shoulder needs to be tapered. The tip is tooled, the excess glass broken off. The lower half reheated, and using the jacks as a sort of mold, the glass is inflated and it moves outward into the jacks.
Next begins the process of adding bits of glass and bubbles. The first thing is a tiny bit of glass added at the tip and tooled to become a merese. This is a decorative disc, somewhat sharp at its edges and conical at its face. Another bit of glass is added, cast free, and after a brief reheat, this is flattened. The constriction tooled and pulled slightly outward.
Next comes the first hollow element to be added. On the tip of a blowpipe, a tiny gather of glass is made, marvered briefly (it's essential to keep the glass hot), a bubble is blown in. The bubble is marvered to a taper, and it's lowered into a dip mold or optic mold to give it ribs. After a constriction is made near the blowpipe, this is lowered on to the avolio (the double merese). The jacks are used to make a slight constriction near the Avolio and then much a larger, narrower constriction is made. This creates a knop. The excess glass is broken free.
A tiny bit of aquamarine glass is gathered. This is added to the tip of the knop, and it's pressed flat. Another tiny bit of aquamarine glass is added, and after reheating, it's tooled to become spherical. Next begins the process of the open-work. A tiny bit of glass, gathered from the furnace, is flattened, added to the side of the knop, cut free of the gathering iron, and then, using tiny pincers, is tooled to become roughly triangular in shape. This will be repeated three times. The tip of the second triangular element is touched to the tip of the first one. And so with the third. A tiny bit of glass is added at the tip to hold the three parts together. It's flattened, decorative twists are made, another bit of glass is added. It's on this that another hollow knop will be attached.
Next, the six tiny raspberry prunts are made. A teeny bit of glass is added, cast free of the gathering iron, and a small tool is used to impress the soft glass to create the raspberry pattern. This is done six times. After carefully reheating the glass (to make sure it stays well over 1,000 degrees Fahrenheit) to prevent cracking, a third hollow element is added, yet another knop. Another merese construction is created, first with a bit of hot glass, tooled to become flat. Another bit is added, flattened somewhat. It's on this tiny pedestal that the foot bubble will be added.
And on a fourth blowpipe, a gather is made, and attached to the tip of the avolio. This will become the foot. A constriction is made. The extra glass on the tip broken away, and after reheating the foot bubble, it's dilated to a diameter of about an inch, and after reheating, the soffietta is used to inflate the bubble. The solid element is occasionally blown to cool it. This goblet has a folded edge. After that's created, the foot is reheated and given its final profile of an exponential curve. Next comes the transfer to the punty. The punty is attached to the bottom. It will be the handle with which the goblet will be held during the completion of the rim. The neck is broken, the entire goblet flashed in the furnace. Again, it's essential to keep everything well over 1,000 degrees, or the lower-most parts will begin to crack.
To create the thin rim as we see in the original, a special procedure is used to pull extra thick glass free, and with a constriction, to knock it away. Here, the glass is left very thin, and with reheating and tooling, and the use of the soffietta, the thin rim is achieved. First, the hole is opened to a diameter of about an inch. After reheating, thesoffietta is used to reshape the upper shoulder of the vessel. The hole is opened a little more, the soffietta used again, and the final shape is given. The jacks are used on both the inside and the outside to make sure the profile is perfectly conical. The entire vessel is carefully flashed deep in the furnace. The object placed into the annealing oven, and with a gentle tap the punty, breaks free. The object is cooled over a period of about three or four hours.
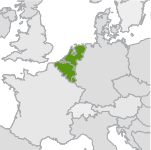
See all: Browse by Map


